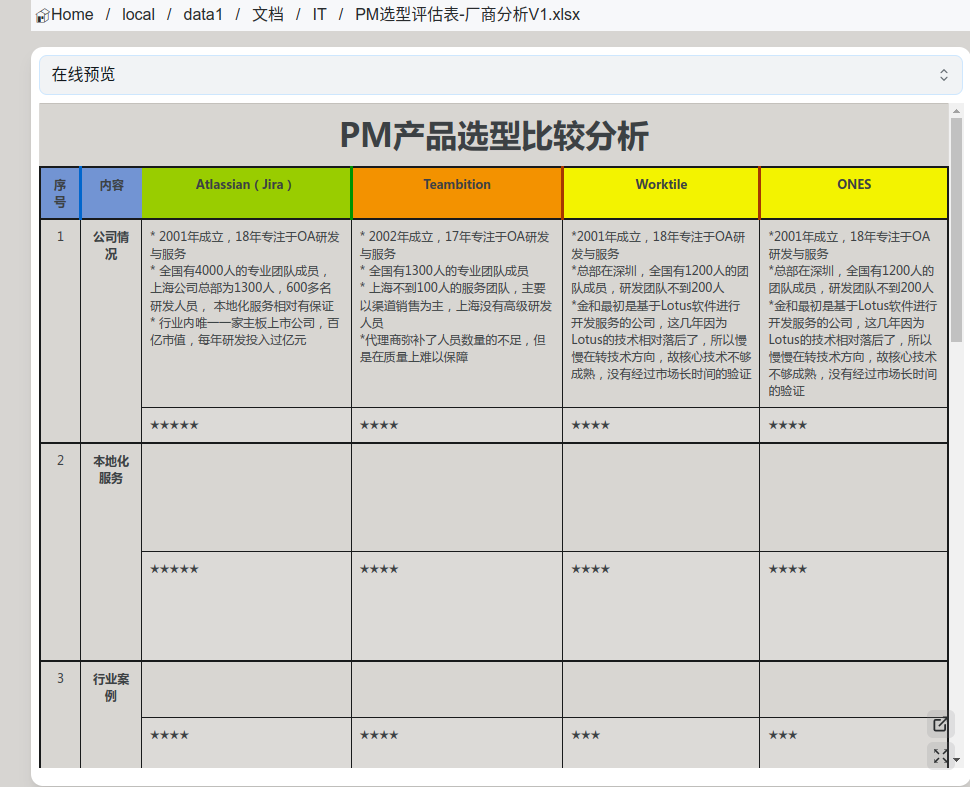
Alist+kkfileview
一、安装kkFileView
官方有docker镜像包文件,可以直接使用docker部署kkFileView
docker run -d -it \
-p 8012:8012 \
-v /path/to/kkFileView:/opt/kkFileView-4.1.0/file \
--name kkFileView \
--restart unless-stopped \
keking/kkfileview
#/path/to/kkFileView为你存放kkFileView预览
文件的路径
ShellScript
打开http://ip:8012即可打开页面,可以搭配nginx实现反向代理,需要的自己实现
二、配置Base64编码页面
kkFileView支持传入Base64的文件链接进行解析,在http://ip:8012/onlinePreview?url={base64}进行传入,因此我们需要将alist默认的传入路径先进行Base64化后再传给kkFileView
1、编写view.html文件
使用nginx或者其他Web软件添加一个http静态页面,创建view.html文件,写入下列内容:
<!DOCTYPE html>
<html lang="en">
<head>
<meta charset="UTF-8">
<title>KKFileViewer</title>
</head>
<body>
<script src="/base64.js" type="application/javascript"></script>
<script>
function getQueryParamValue(name) {
const searchParams = new URLSearchParams(window.location.search);
return searchParams.get(name);
}
let url = decodeURIComponent(getQueryParamValue("url"));
if (url === "null") {
console.log("url的参数为空!")
} else {
const alistRegex = /(\?|&)alist_ts=\d+/;
if (alistRegex.test(url)) {
url = url.replace(alistRegex, '');
}
url = encodeURIComponent(url);
let e_url='https://kk.example.com/onlinePreview?url='+encodeURIComponent(BASE64.encode(url));
console.log(e_url);
window.open('https://kk.example.com/onlinePreview?url='+encodeURIComponent(BASE64.encode(url)),'_self');
}
</script>
</body>
</html>
其中,将https://kk.example.com替换成你的kkFileView地址
2、添加base64.js文件
在gitee上可以下载支持中文编码的base64.js文件点我打开,将base64.js放到view.html同路径下,或者修改view.html里面的JavaScript引用路径
base64.js下载
3、测试view.html是否可以访问
打开你的view.html网站,打开F12控制台页面,看看是否正常显示
三、配置alist
在设置->预览->外部预览添加上下列代码
{
"doc,docx,xls,xlsx,ppt,pptx": {
"使用kkFileView预览(转码需要时间,请耐心等候)":"https://example.com/view.html?url=$e_durl"
},
"pdf": {
"使用kkFileView预览(转码需要时间,请耐心等候)":"https://example.com/view.html?url=$e_durl"
},
"csv,tsv,dotm,xlt,xltm,dot,dotx,xlam,xla,pages,wps,dps,et,ett,wpt,odt,ods,ots,odp,otp,six,ott,fodt,fods": {
"使用kkFileView预览(转码需要时间,请耐心等候)":"https://example.com/view.html?url=$e_durl"
},
"vsd,vsdx,wmf,emf,eps,ofd,rtf,xmind,bpmn,eml,drawio,dcm": {
"使用kkFileView预览(转码需要时间,请耐心等候)":"https://example.com/view.html?url=$e_durl"
},
"epub": {
"使用kkFileView预览(转码需要时间,请耐心等候)":"https://example.com/view.html?url=$e_durl"
},
"obj,3ds,stl,ply,gltf,glb,off,3dm,fbx,dae,wrl,3mf,ifc,brep,step,iges,fcstd,bim": {
"使用kkFileView预览(转码需要时间,请耐心等候)":"https://example.com/view.html?url=$e_durl"
},
"dwg,dxf,dwf,iges,igs,dwt,dng,ifc,dwfx,stl,cf2,plt": {
"使用kkFileView预览(转码需要时间,请耐心等候)":"https://example.com/view.html?url=$e_ durl"
},
"zip,rar,jar,tar,gzip,gz,7z": {
"使用kkFileView预览(转码需要时间,请耐心等候)":"https://example.com/view.html?url=$e_durl"
},
"psd,tif,tiff,tga,svg": {
"使用kkFileView预览(转码需要时间,请耐心等候)":"https://example.com/view.html?url=$e_durl"
},
"drawio": {
"使用kkFileView预览(转码需要时间,请耐心等候)":"https://example.com/view.html?url=$e_durl"
}
}
其中,https://example.com/view.html为你刚刚创建的view.html网页,alist先将下载地址传给view.html进行base64编码后在传给kkFileView
这样就可以实现在线预览了
alist配合onlyoffice 实现在线预览
一、安装onlyoffice
我是采用docker安装,采用的版本是7.2, aarch64 可以支持,端口号为 18081
docker run --restart=always --name onlyoffice \
-p 18081:80 \
-e JWT_ENABLED=false \
-v /app/onlyoffice/DocumentServer/logs:/var/log/onlyoffice \
-v /app/onlyoffice/DocumentServer/data:/var/www/onlyoffice/Data \
-v /app/onlyoffice/DocumentServer/lib:/var/lib/onlyoffice \
-v /app/onlyoffice/DocumentServer/db:/var/lib/postgresql \
onlyoffice/documentserver:7.2
二、增加view.html文件
创建文件夹
mkdir -p /opt/onlyoffice
vim /opt/onlyoffice/view.html
注意:配置文件中的主机IP需要修改为自己机器的IP
<!DOCTYPE html>
<html lang="en">
<head>
<meta charset="UTF-8">
<title>OnlyOffice Viewer</title>
</head>
<body>
<div id="placeholder"></div>
<script type="text/javascript" src="http://主机IP:18081/web-apps/apps/api/documents/api.js"></script>
<script>
function getQueryParamValue(name) {
const searchParams = new URLSearchParams(window.location.search);
return searchParams.get(name);
}
const url = decodeURIComponent(getQueryParamValue("src"));
const fileName = url.substring(url.lastIndexOf('/') + 1, url.lastIndexOf('?') != -1 ? url.lastIndexOf('?') : url.length);
const fileExtension = fileName.split('.').pop();
const docEditor = new DocsAPI.DocEditor("placeholder", {
"document": {
"fileType": fileExtension,
"permissions": {
"edit": false,
"comment": true,
"download": true,
"print": true,
"fillForms": true,
},
"title": fileName,
"url": url,
},
"editorConfig": {
"lang": "zh-CN",
"mode": "view",
},
"height": "1080px",
"type": "desktop",
});
</script>
</body>
</html>
三、安装nginx,并增加conf配置文件
sudo apt update
sudo apt install -y nginx
增加conf配置文件
vim /etc/nginx/conf.d/onlyoffice.conf
server {
listen 18082;
server_name localhost;
location / {
root /opt/onlyoffice; #这里修改为自己的view.html的目录
index index.html index.htm;
}
}
重启nginx
systemctl restart nginx
注意:此处如果重启失败,则是因为80端口被占用,需要查找占用端口进程,需要干掉
查看nginx状态
systemctl status nginx
四、alist预览配置增加
配置文件里面的主机IP,需要修改为安装onlyoffice 的ip
{
"doc,docx,xls,xlsx,ppt,pptx": {
"onlyoffice":"http://主机IP:18082/view.html?src=$e_url",
"Microsoft":"https://view.officeapps.live.com/op/view.aspx?src=$e_url",
"Google":"https://docs.google.com/gview?url=$e_url&embedded=true"
},
"pdf": {
"onlyoffice":"http://主机IP:18082/view.html?src=$e_url",
"PDF.js":"https://alist-org.github.io/pdf.js/web/viewer.html?file=$e_url"
},
"epub": {
"EPUB.js":"https://alist-org.github.io/static/epub.js/viewer.html?url=$e_url"
}
}
评论 (0)